Ever imagined waking up to ocean views one day and mountain air the next—all from the comfort of your own home? That’s the magic of building a tiny home on a trailer. Whether you’re seeking freedom from rising housing costs or simply yearning for a minimalist, eco-friendly lifestyle, a tiny home on wheels might be your perfect solution.
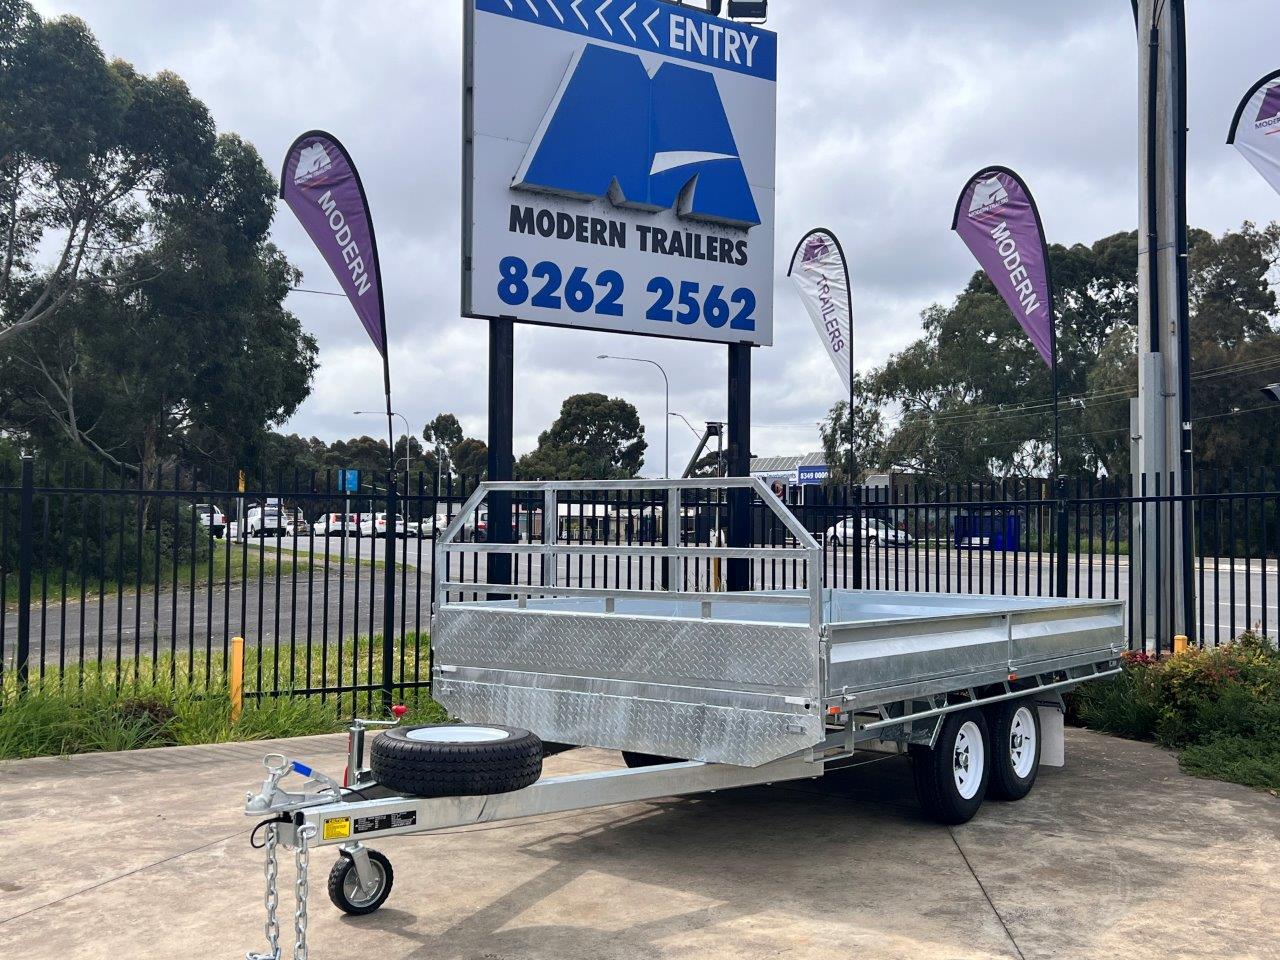
At Modern Trailers, we believe your home should move with you. We’ve helped countless Australians begin their journey to simpler living by offering custom trailer bases that are durable, road-compliant, and designed for the long haul. If you’re ready to build your own tiny home trailer, follow this step-by-step guide to bring your dream to life on wheels.
Before picking up a single tool, start by mapping out what matters most to you:
Most tiny homes on trailers are built to remain under 2.5 metres wide, 4.3 metres tall, and 12.5 metres long, which keeps them road legal in Australia. Plan your layout accordingly, keeping functionality in mind.
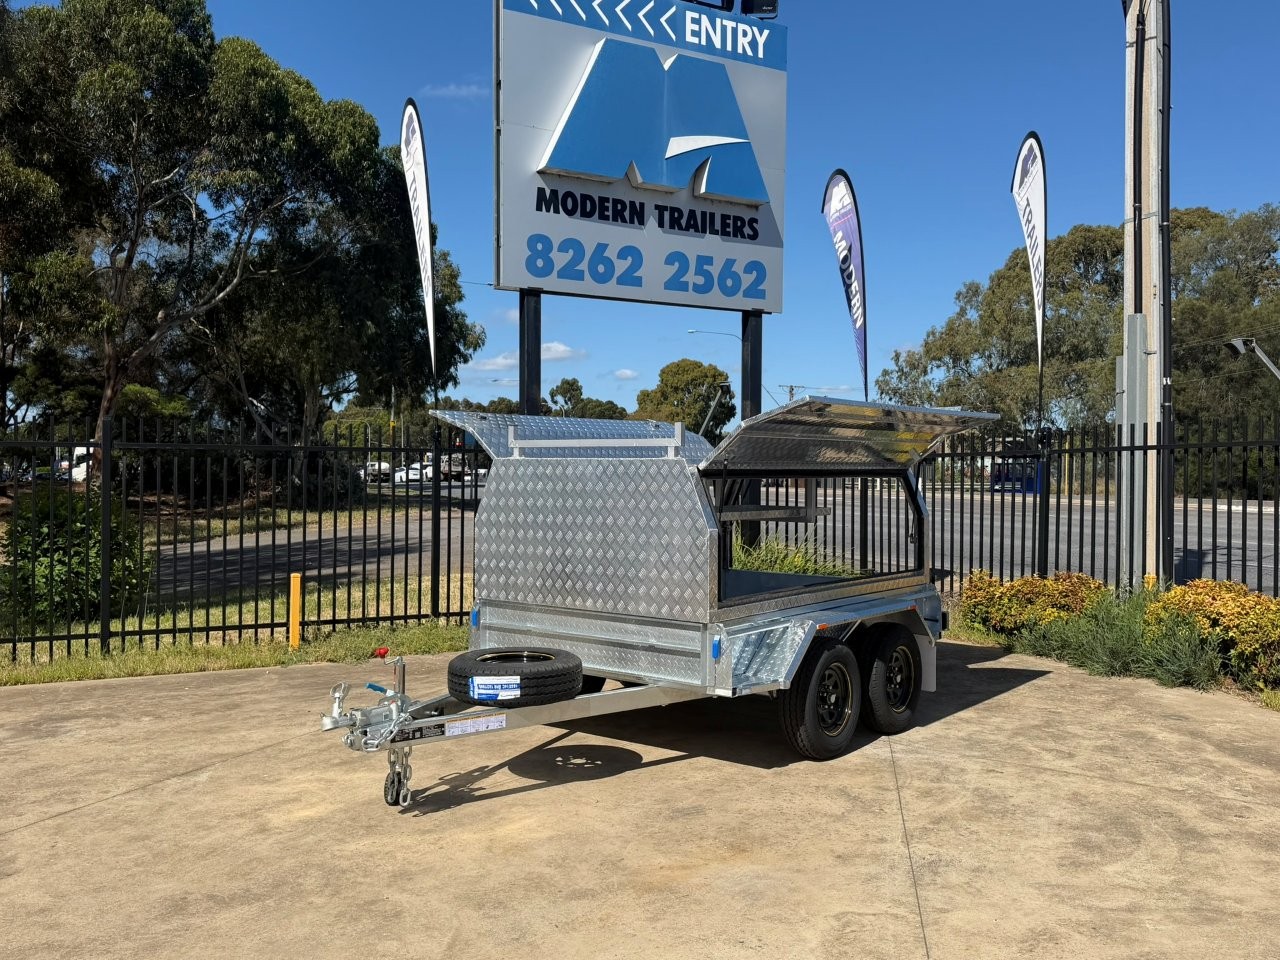
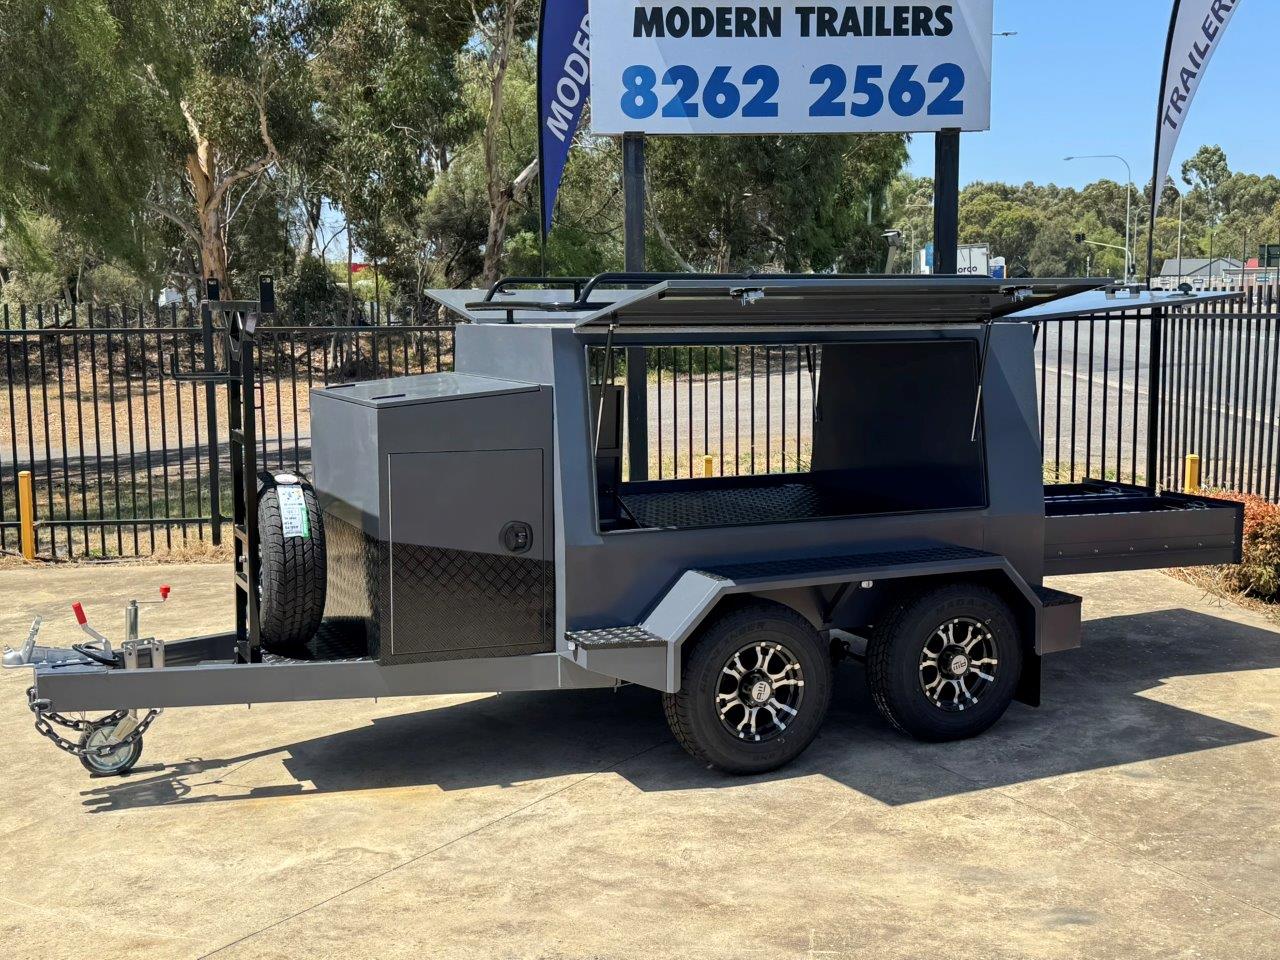
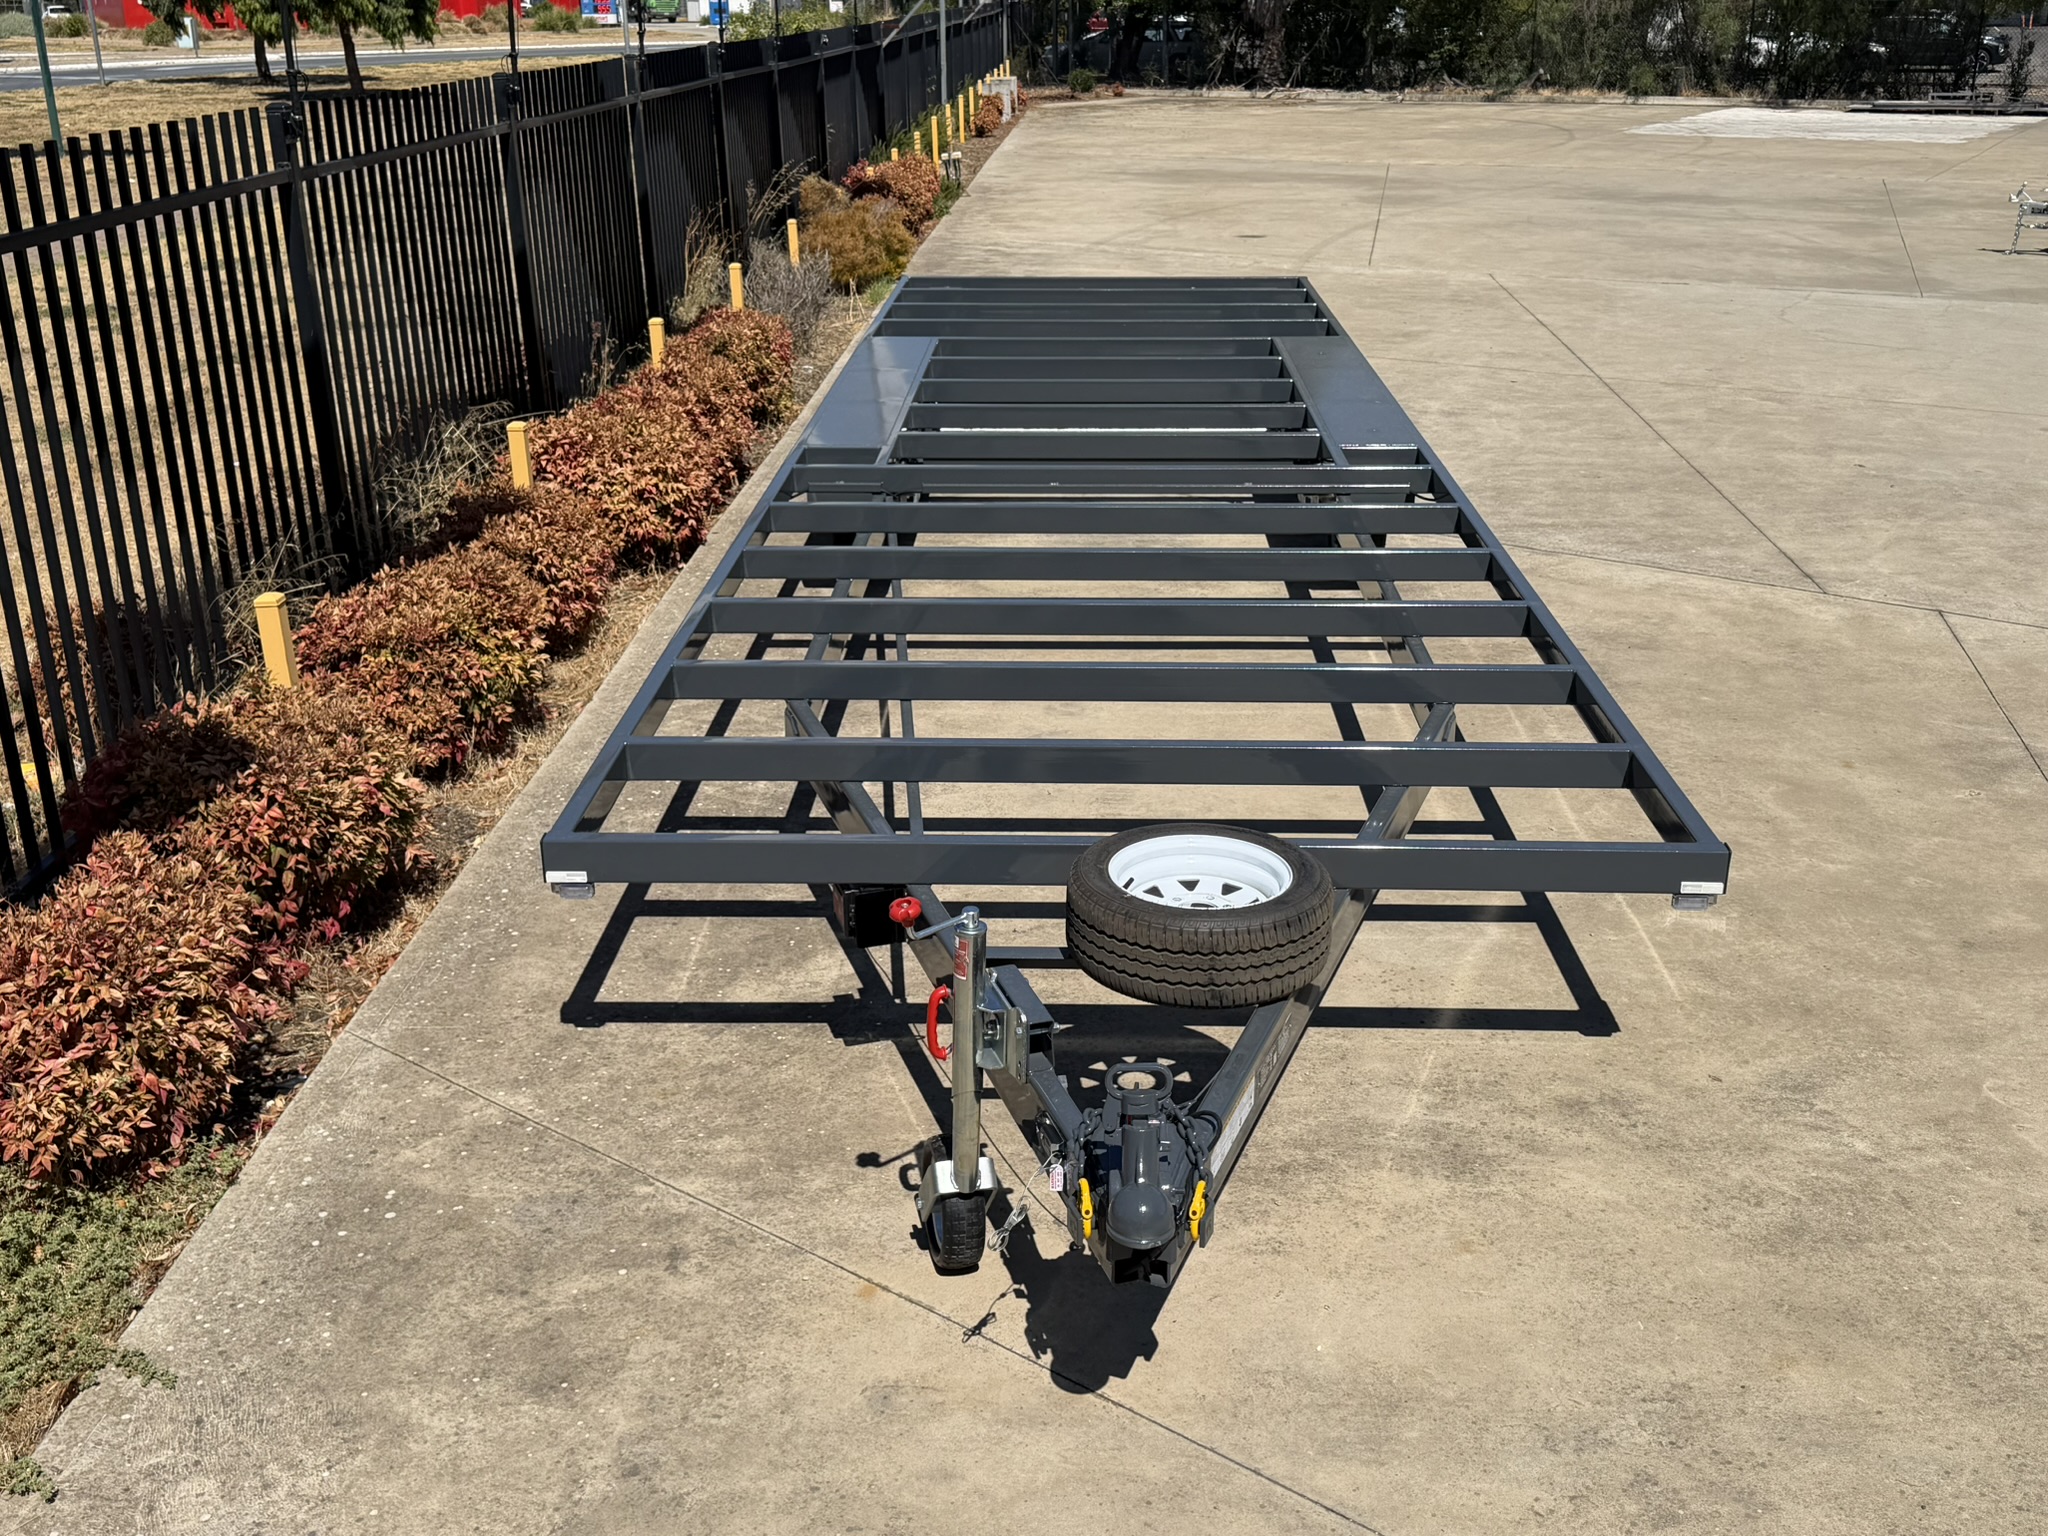
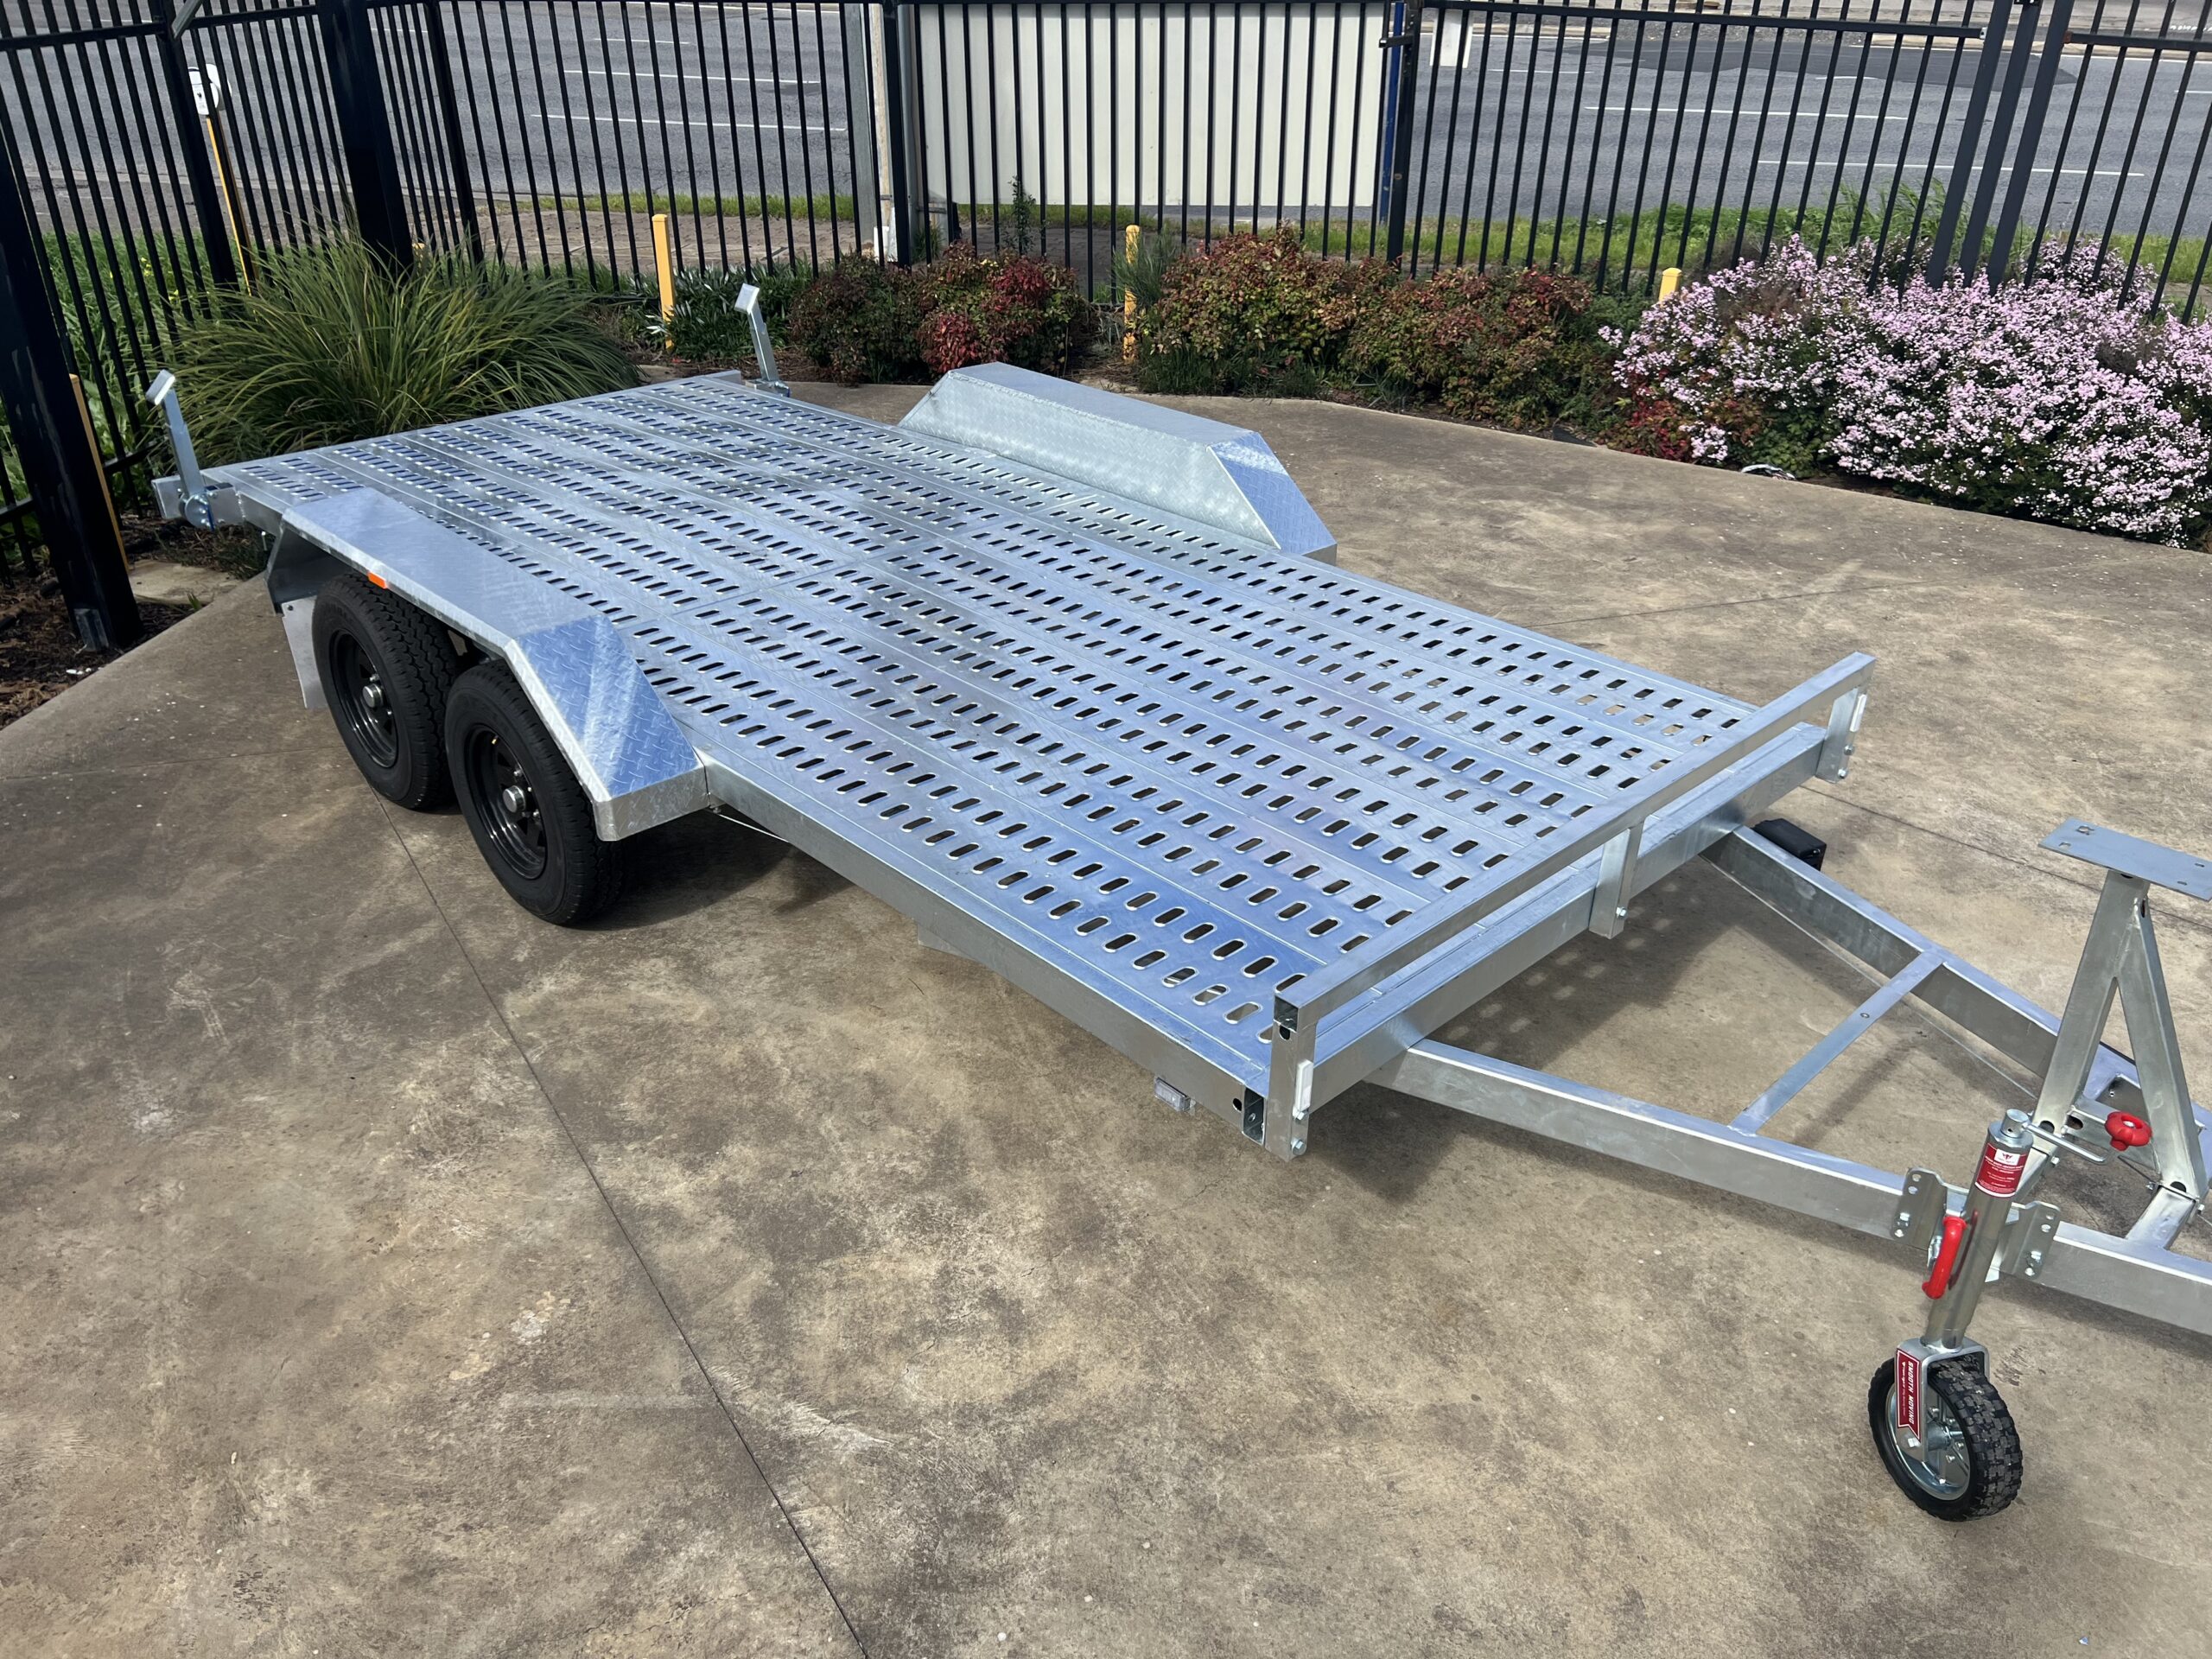
At this stage, decide on a trailer type – bumper pull, flatbed, or gooseneck. Modern Trailers can help you select a platform suited for your layout and lifestyle, ensuring it’s engineered to carry your home safely and legally.
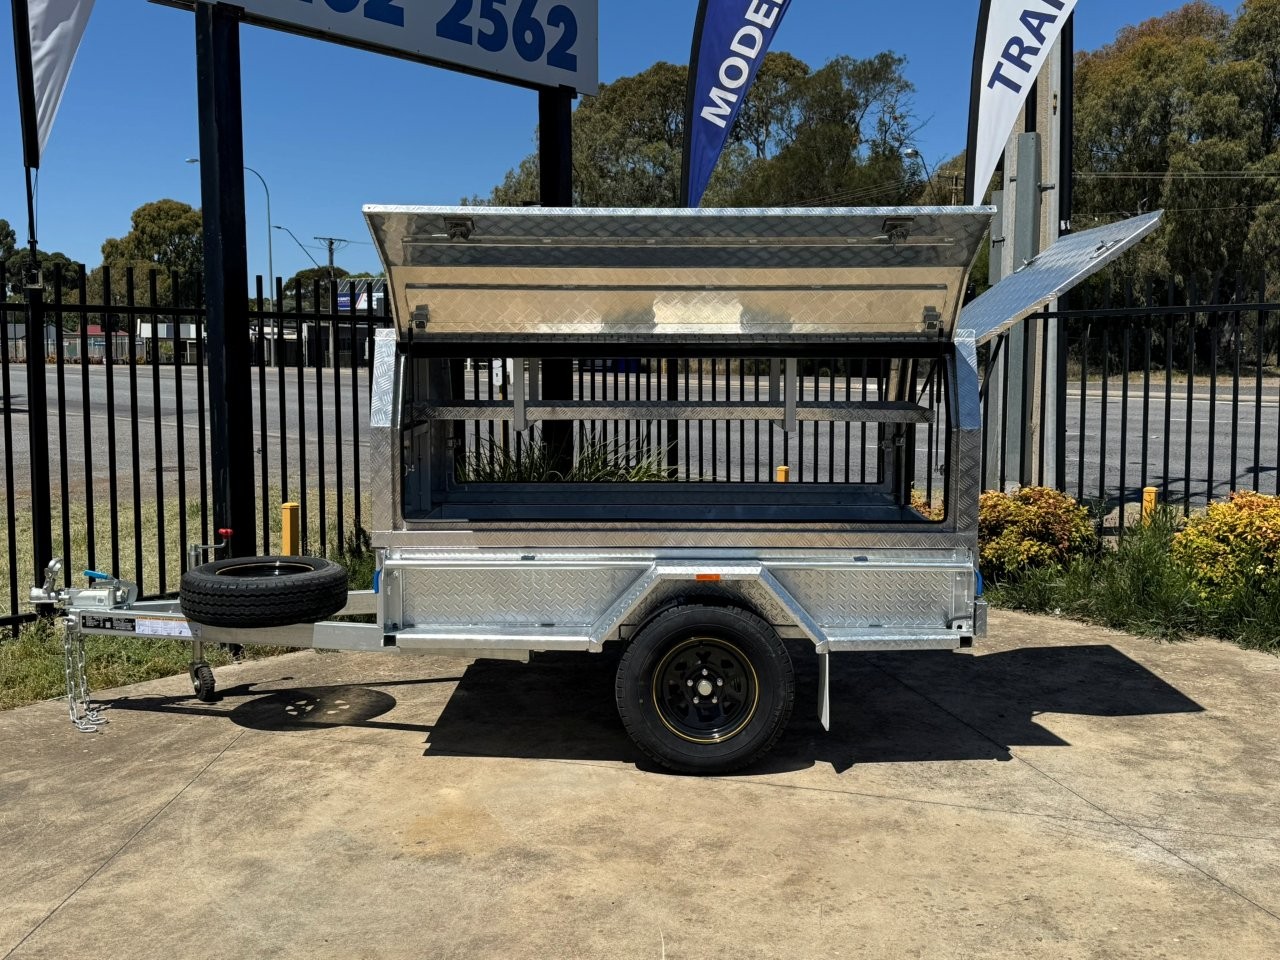
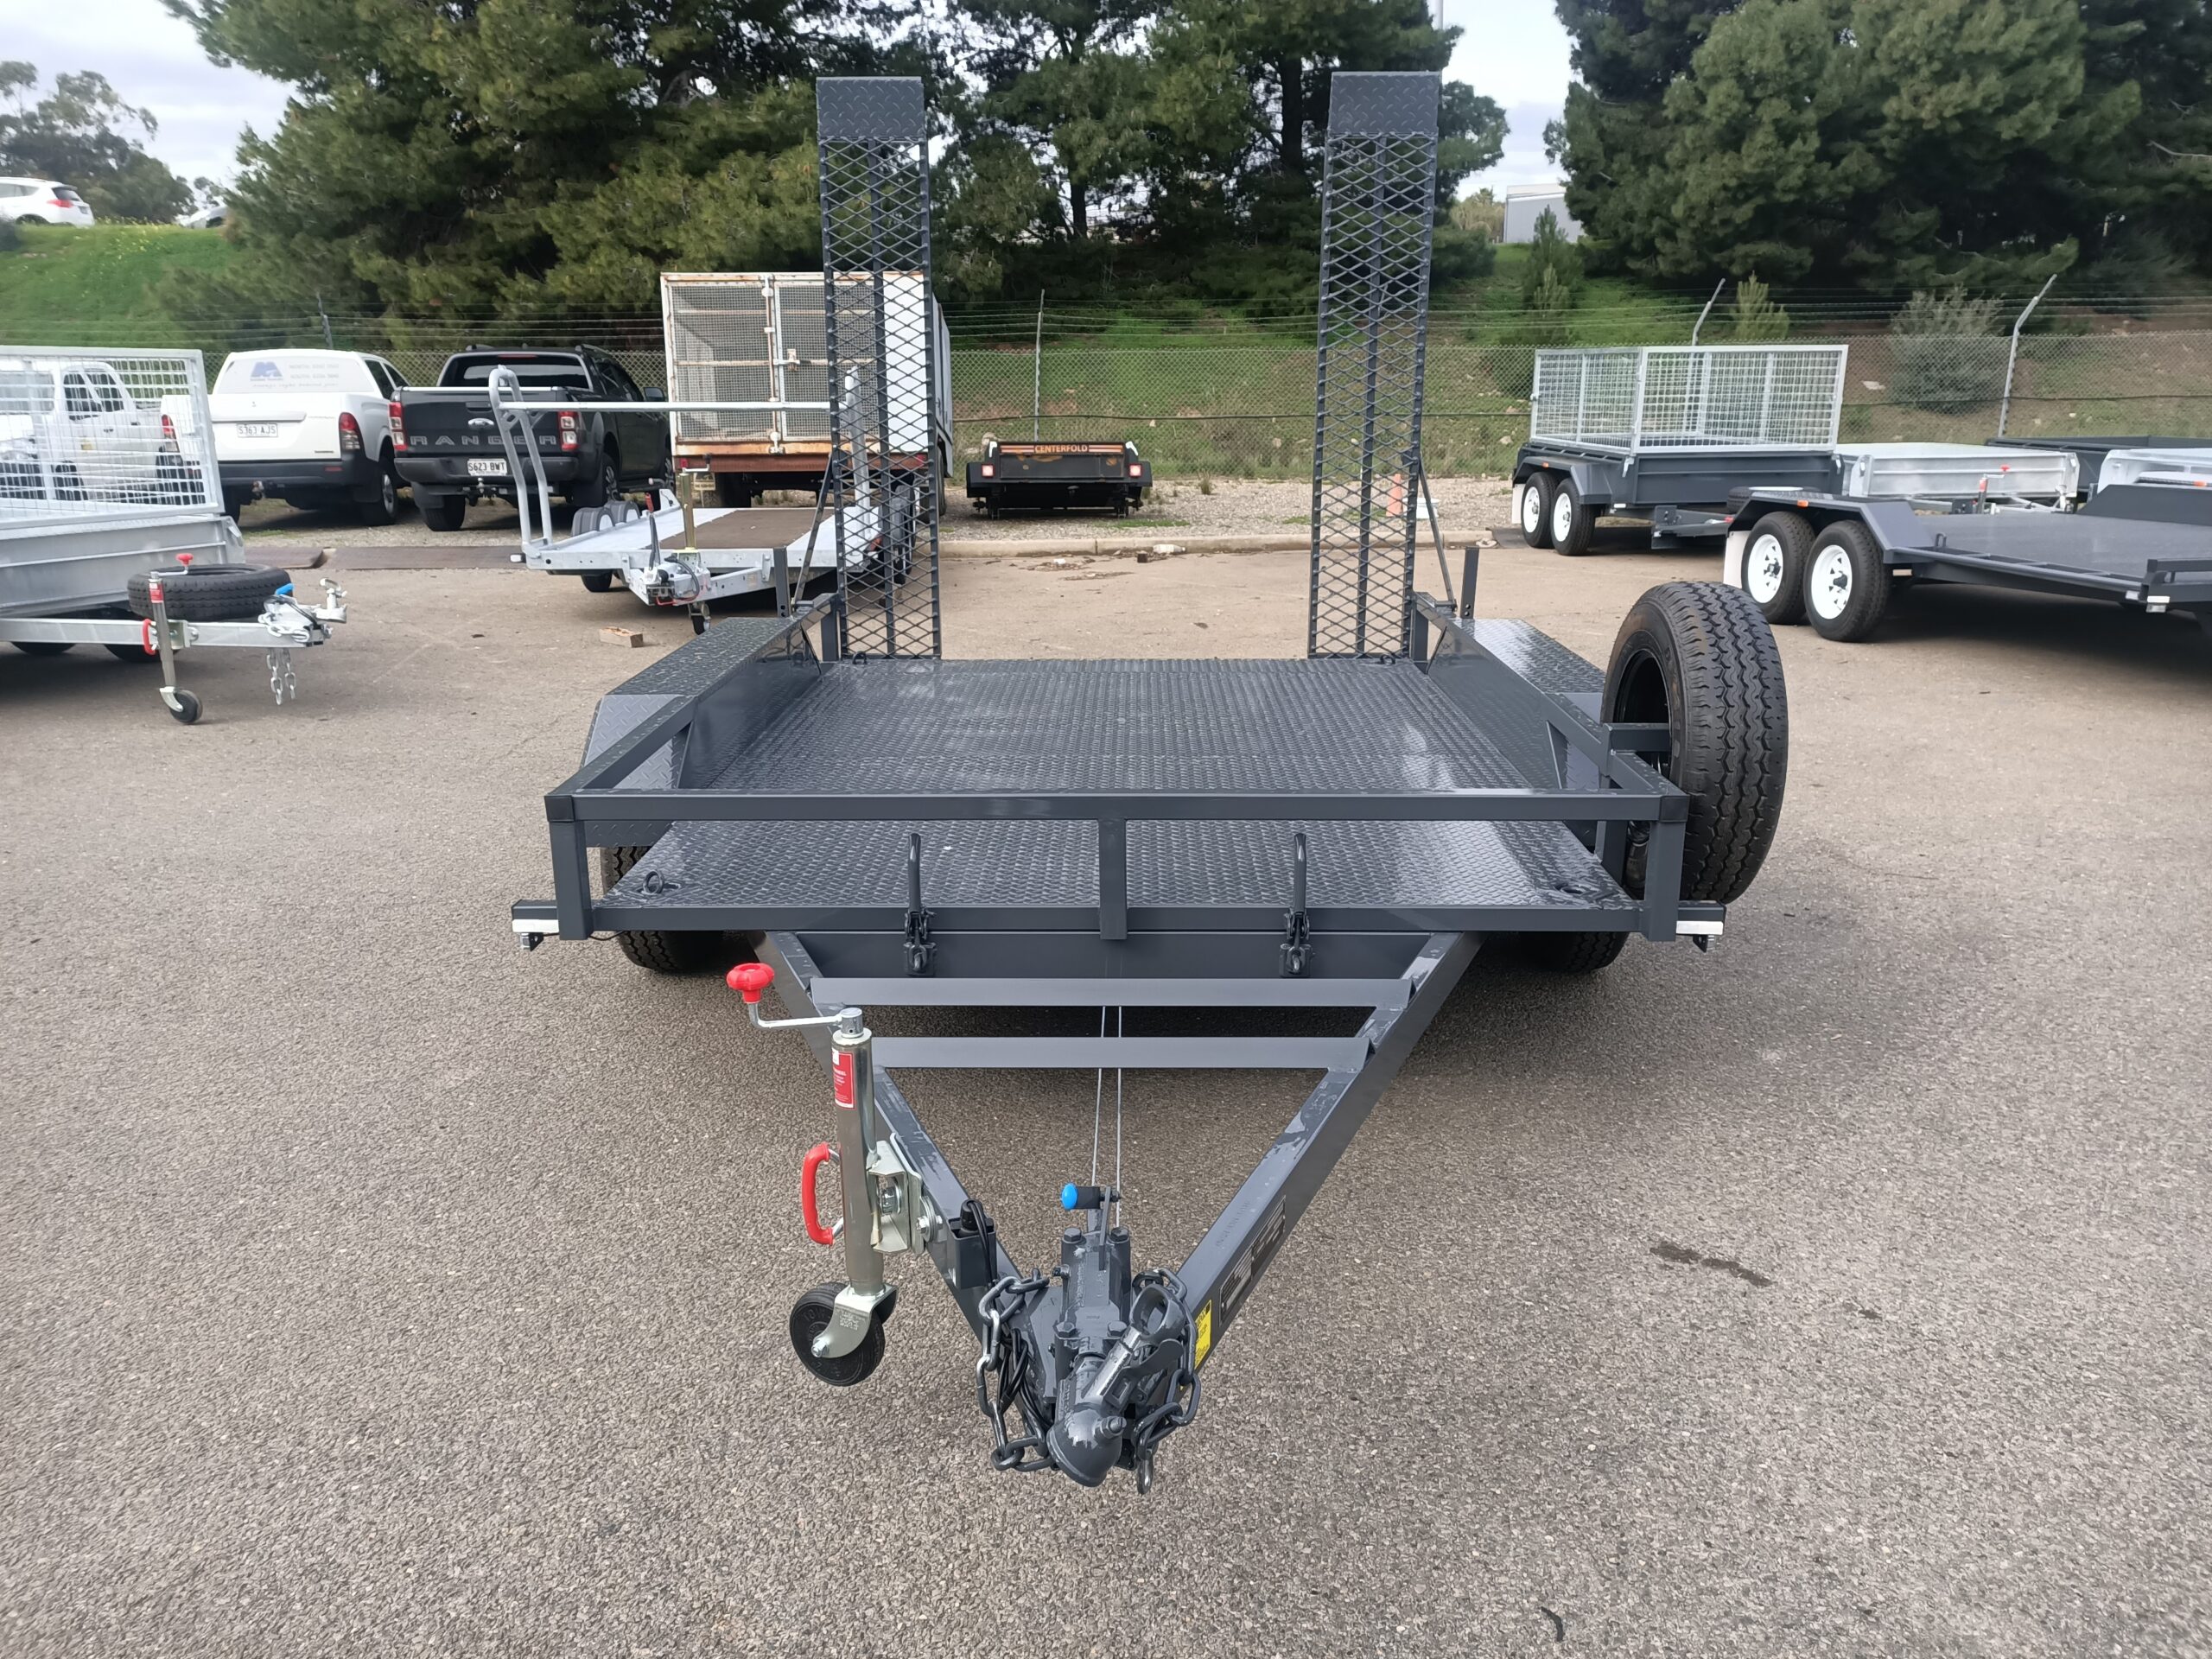
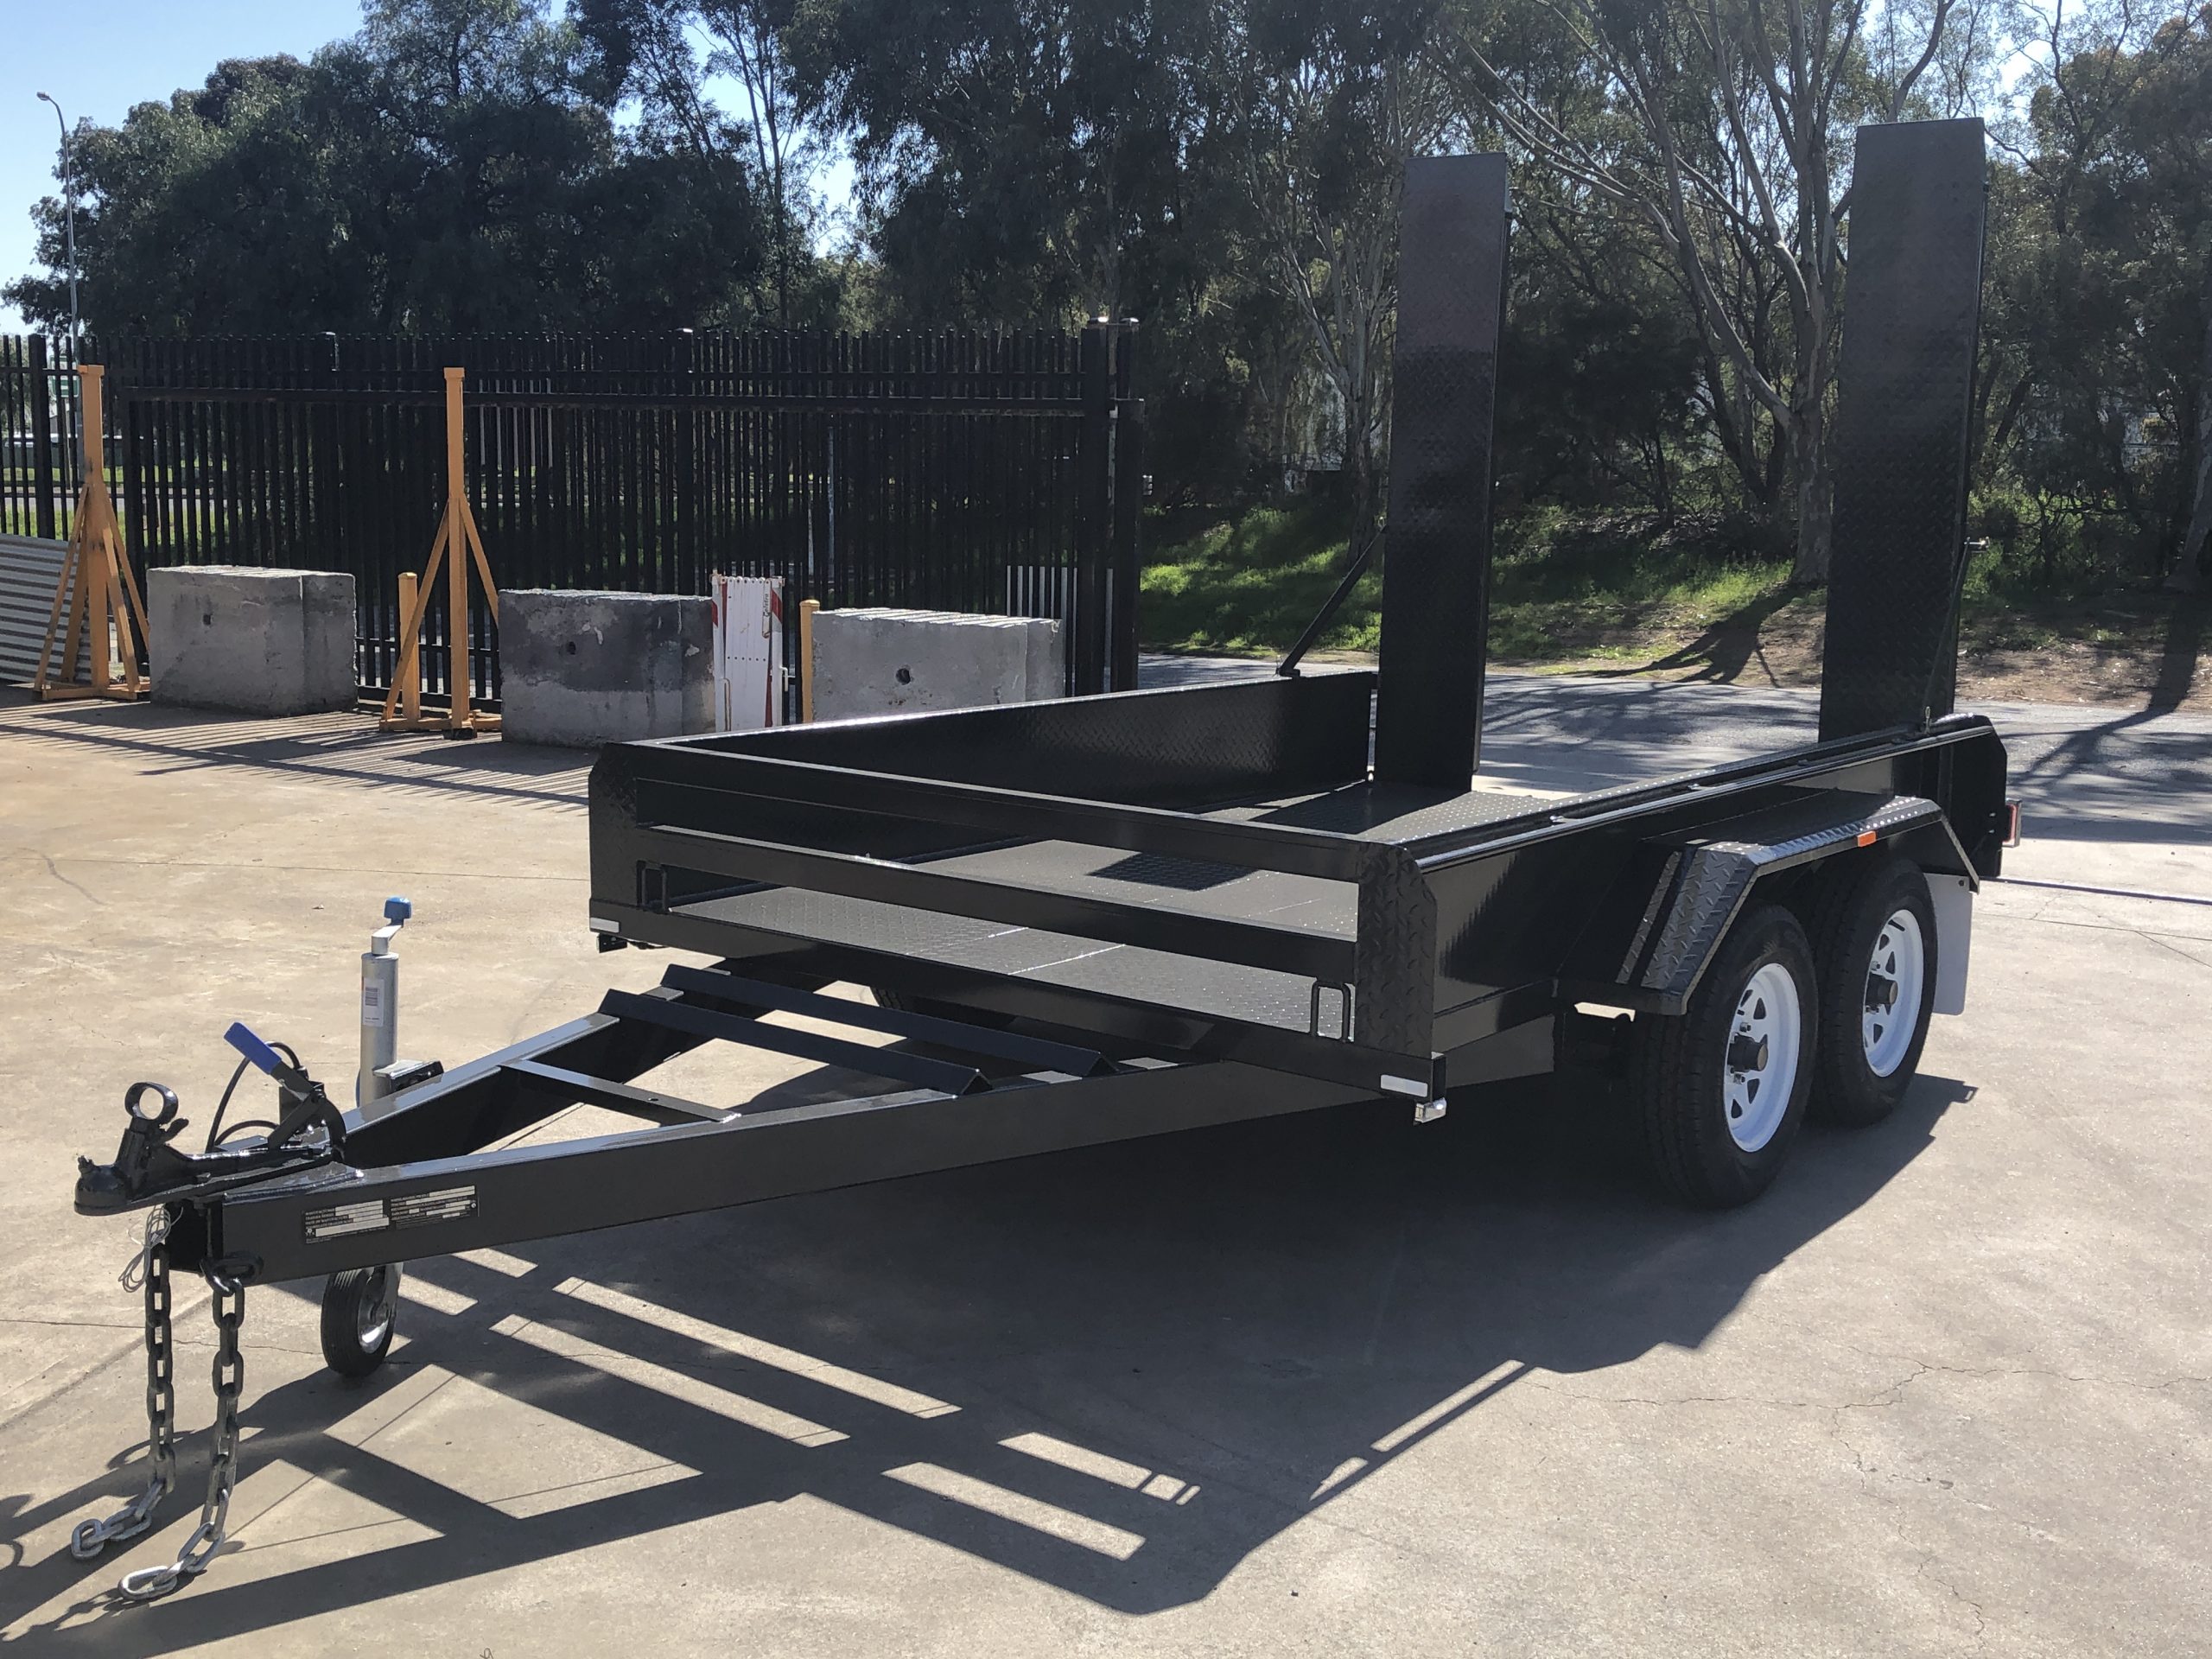
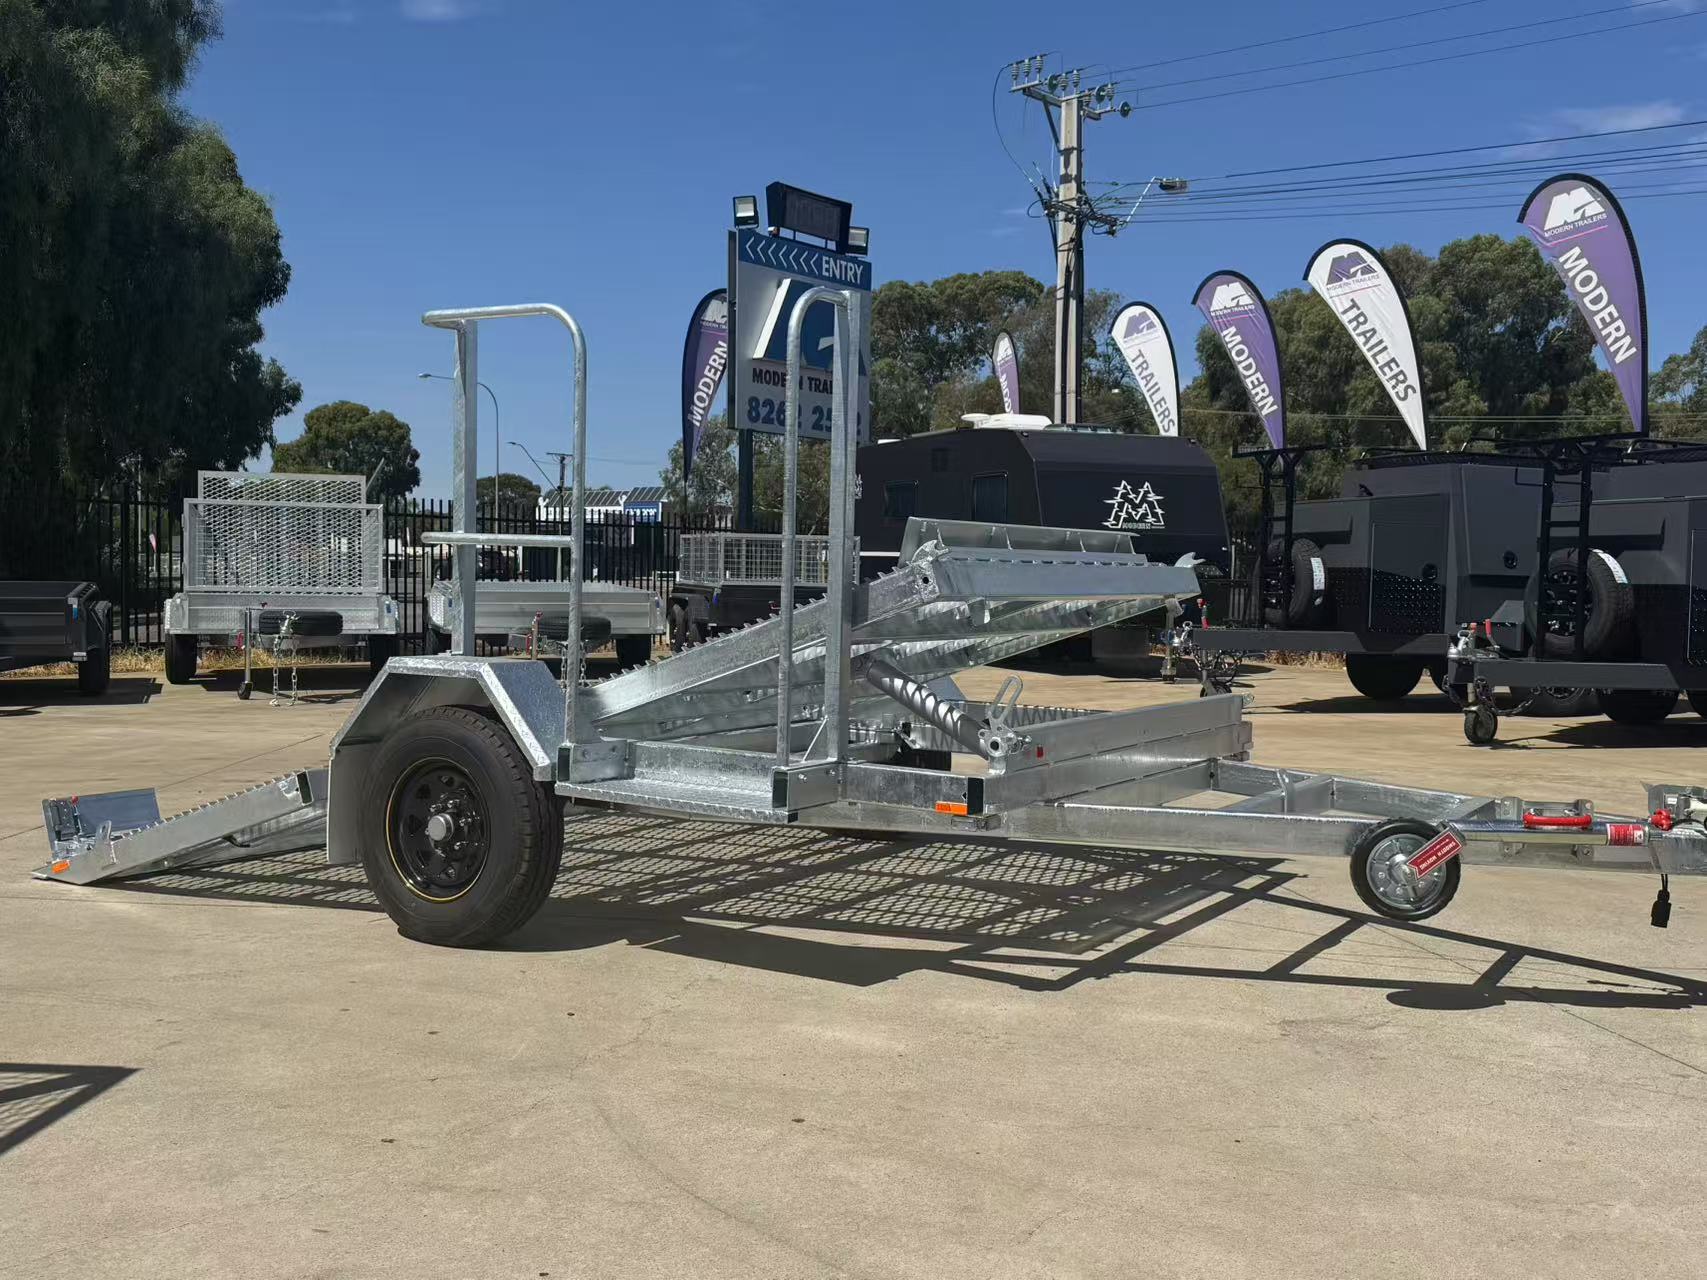
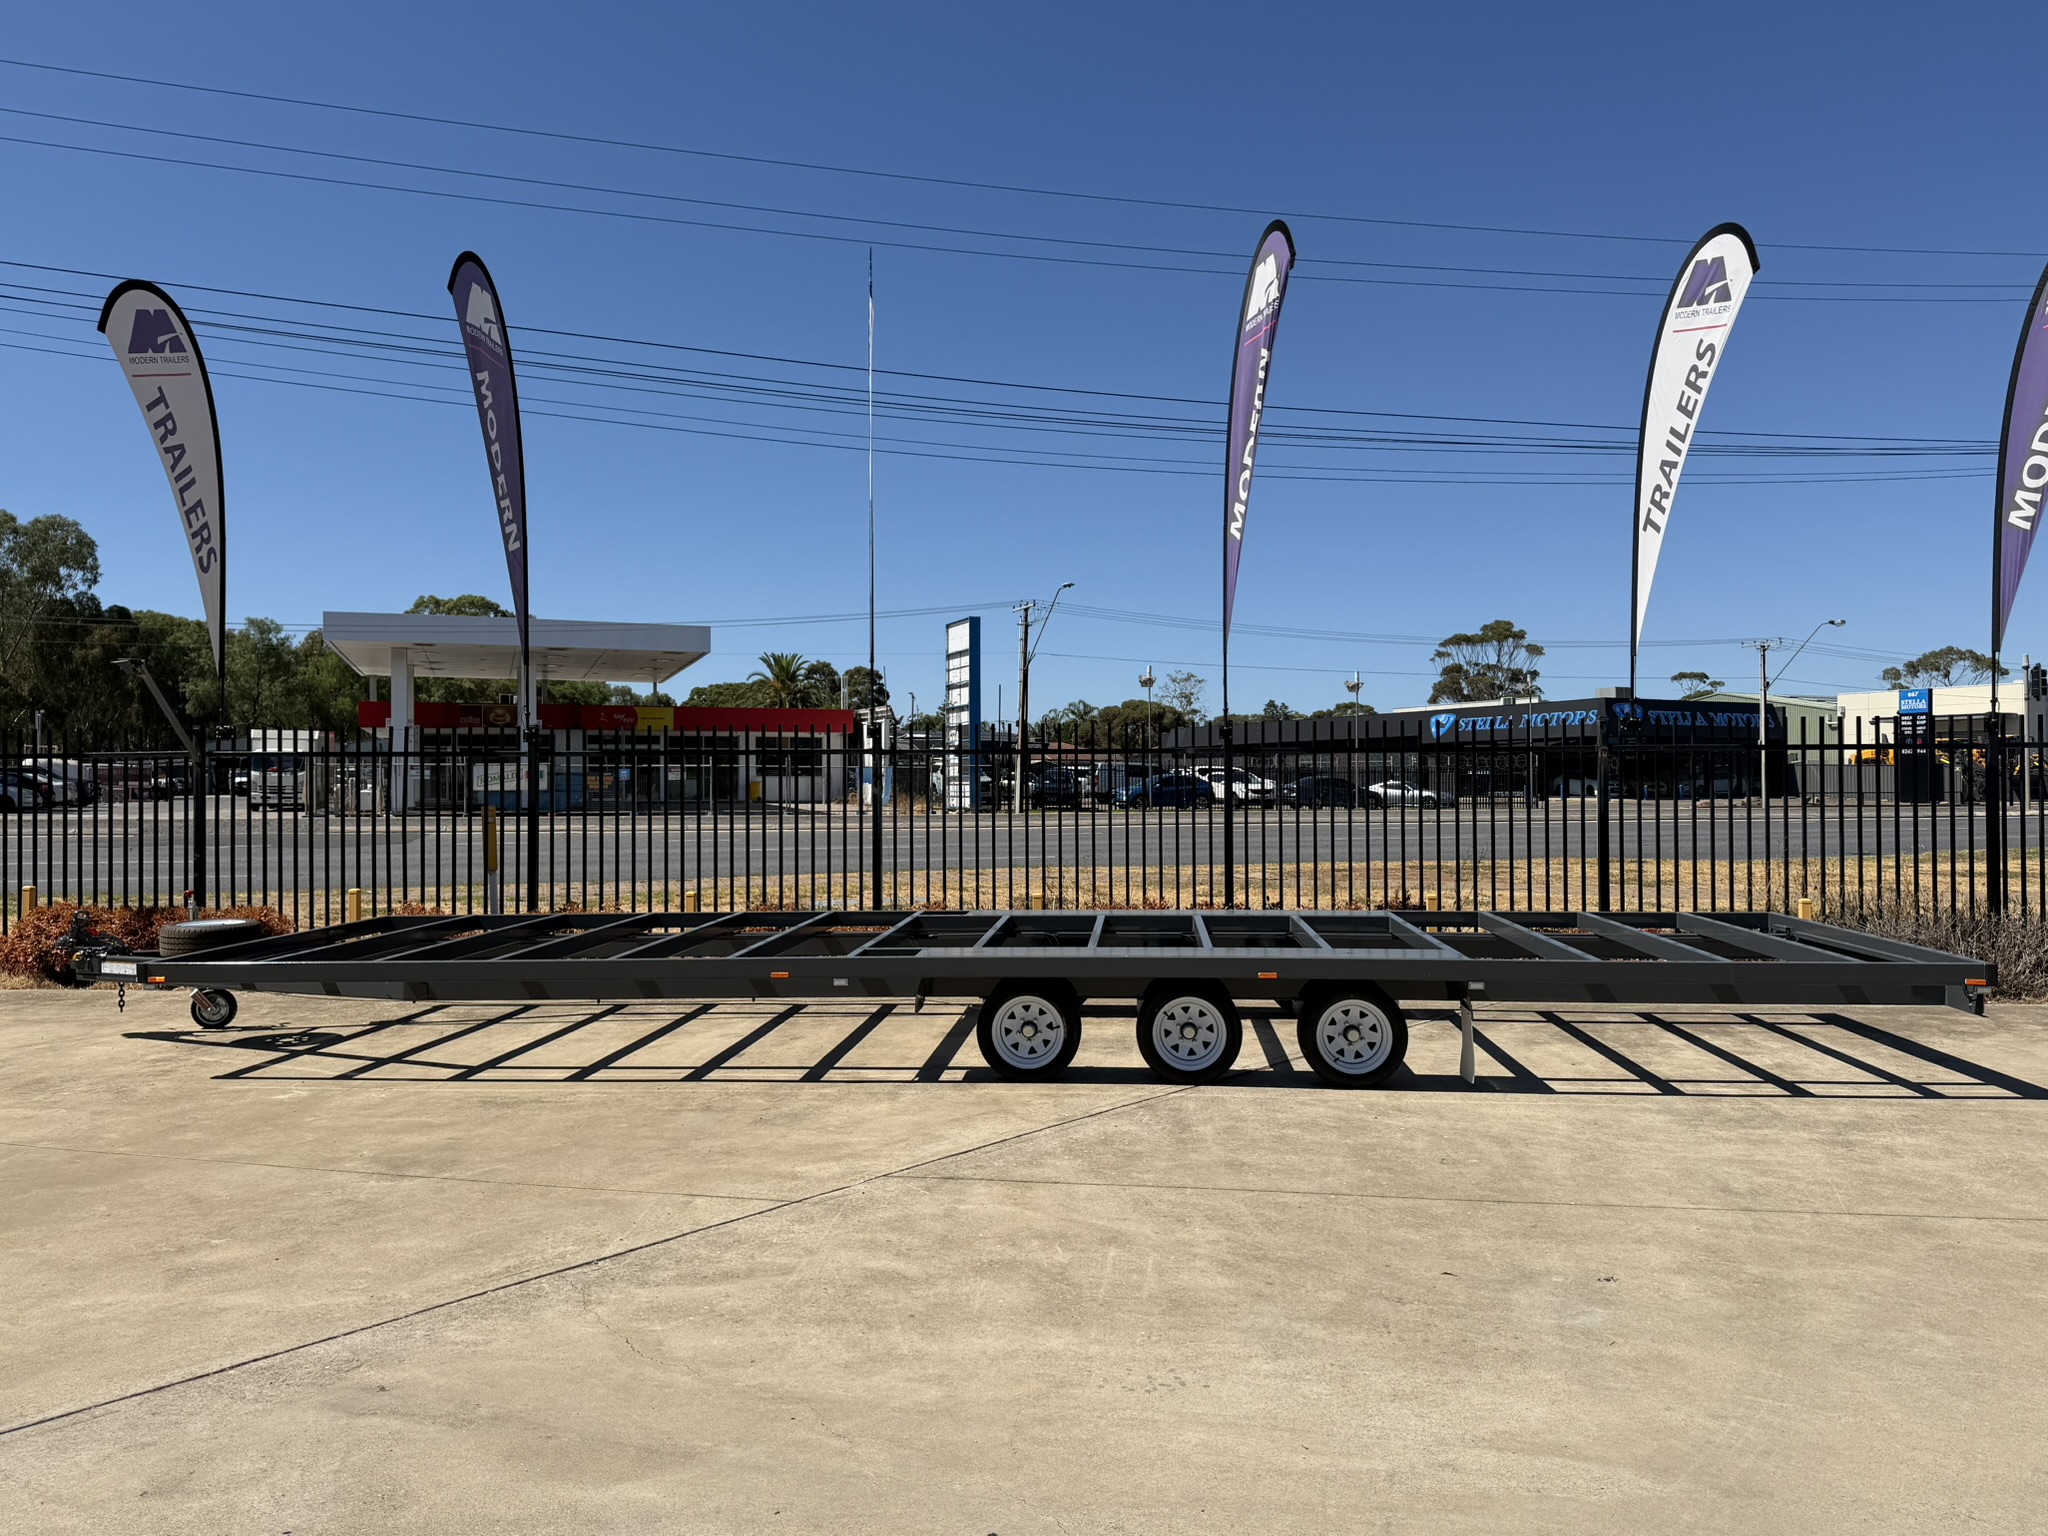
Think of your trailer as the foundation of your home. If it’s not solid, nothing else matters. The ideal trailer for building a tiny home on a trailer should offer:
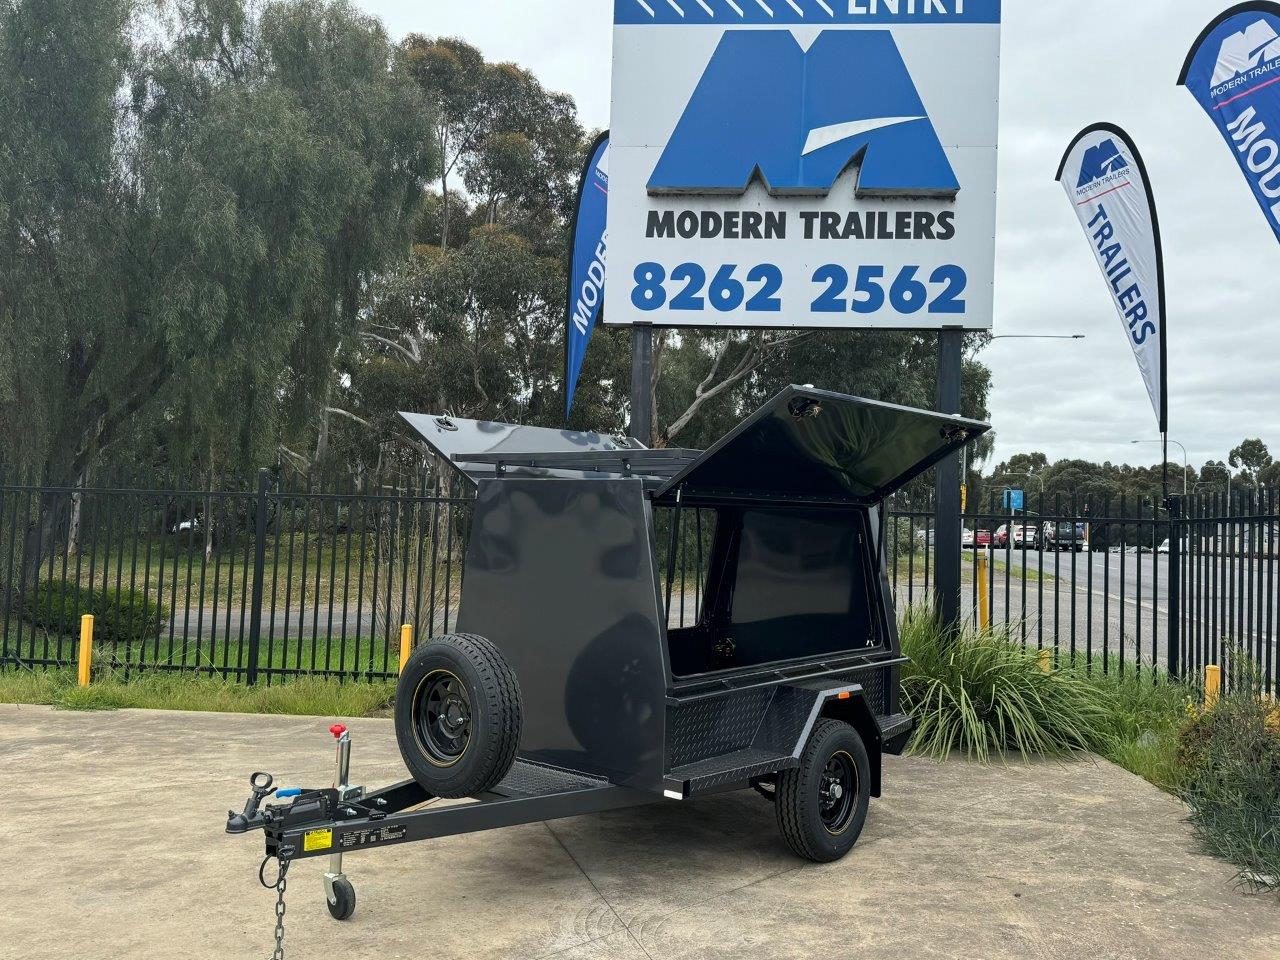
At Modern Trailers, we specialise in trailer bases designed specifically for tiny homes. Our range includes heavy-duty platforms that are not only structurally sound but built to endure Australian conditions – rain, heat, salt, and more.
Once your trailer arrives, it’s time to reinforce the chassis and lay down the floor. Weld in steel supports or cross-members if needed, especially at high-stress points like over the axles and corners.
After framing, install your subflooring using moisture-resistant materials like marine-grade plywood. Don’t forget insulation underneath the floor – rigid foam boards are lightweight and highly effective at keeping interiors comfortable year-round.
Now, start assembling your walls using steel studs or treated timber. Keep the overall height below 4.3 metres, which ensures clearance under bridges and power lines.
Next, attach the roof trusses. A slanted roof (shed style) is popular in tiny homes for solar panel placement and rainwater collection. Secure the entire structure with hurricane ties or metal connectors to ensure stability during transport.
Pro Tip: At this stage, take extra care to ensure the walls are square and properly anchored to your trailer base. Movement during towing can cause serious stress on your frame if not constructed properly.
Windows and doors not only bring in natural light and ventilation but must also be road-compliant. Choose double-glazed, insulated models to reduce heat transfer.
For insulation, go with high-performance yet lightweight options like:
These can help regulate internal temperatures and reduce energy usage.
This is the part that transforms a shell into a livable home. Your options include:
Plan all utilities before you close up your walls. It’s a lot harder (and messier) to go back and rewire or replumb after everything is sealed.
Here’s where the magic happens. From multi-purpose furniture to loft beds and pull-out pantries, you can get creative with how you use every inch.
Use durable, lightweight materials like:
Make room for smart storage – think under stairs, inside benches, or above doorways.
Once the interior is complete, it’s time to seal, paint, and finish. Use weatherproof paint and sealants, especially around windows and doors.
Before hitting the road, have a licensed builder or engineer inspect your tiny home for:
Modern Trailers recommends always checking with your local council regarding zoning and parking rules, especially if you plan to live in the tiny house full-time.
Building a tiny home on a trailer might seem hard, but with the right plan—and the right trailer—it’s entirely possible. Whether you’re dreaming of mountain retreats, coastal mornings, or countryside calm, your journey starts with a sturdy foundation.
Modern Trailers is here to make your dream of mobile living a reality. With durable, road-legal trailer options tailored for tiny homes, we’re the trusted partner for hundreds of Aussies ready to downsize and explore.
So go ahead, build your own tiny home trailer, hit the open road, and live life on your terms.